Why Fire Pit Installation Creates the Perfect Outdoor Sanctuary
Fire pit installation transforms any backyard into a year-round gathering space where memories are made and relationships flourish. Whether you’re roasting marshmallows with the kids or hosting intimate dinner parties under the stars, a well-designed fire pit becomes the heart of your outdoor living area.
Quick Fire Pit Installation Overview:
- Planning Phase – Choose location 10-20 feet from structures, check local codes
- Foundation Prep – Excavate 7 inches deep, add 5-inch gravel base
- Wall Construction – Layer retaining blocks with staggered joints
- Safety Features – Install steel liner and proper ventilation
- Finishing Touches – Add lava rock, test functionality
The research shows that most DIY fire pit projects cost between $50-$500 and can be completed in 3 hours to a full day. Professional installations typically take 1-3 days but ensure compliance with safety codes and long-term durability.
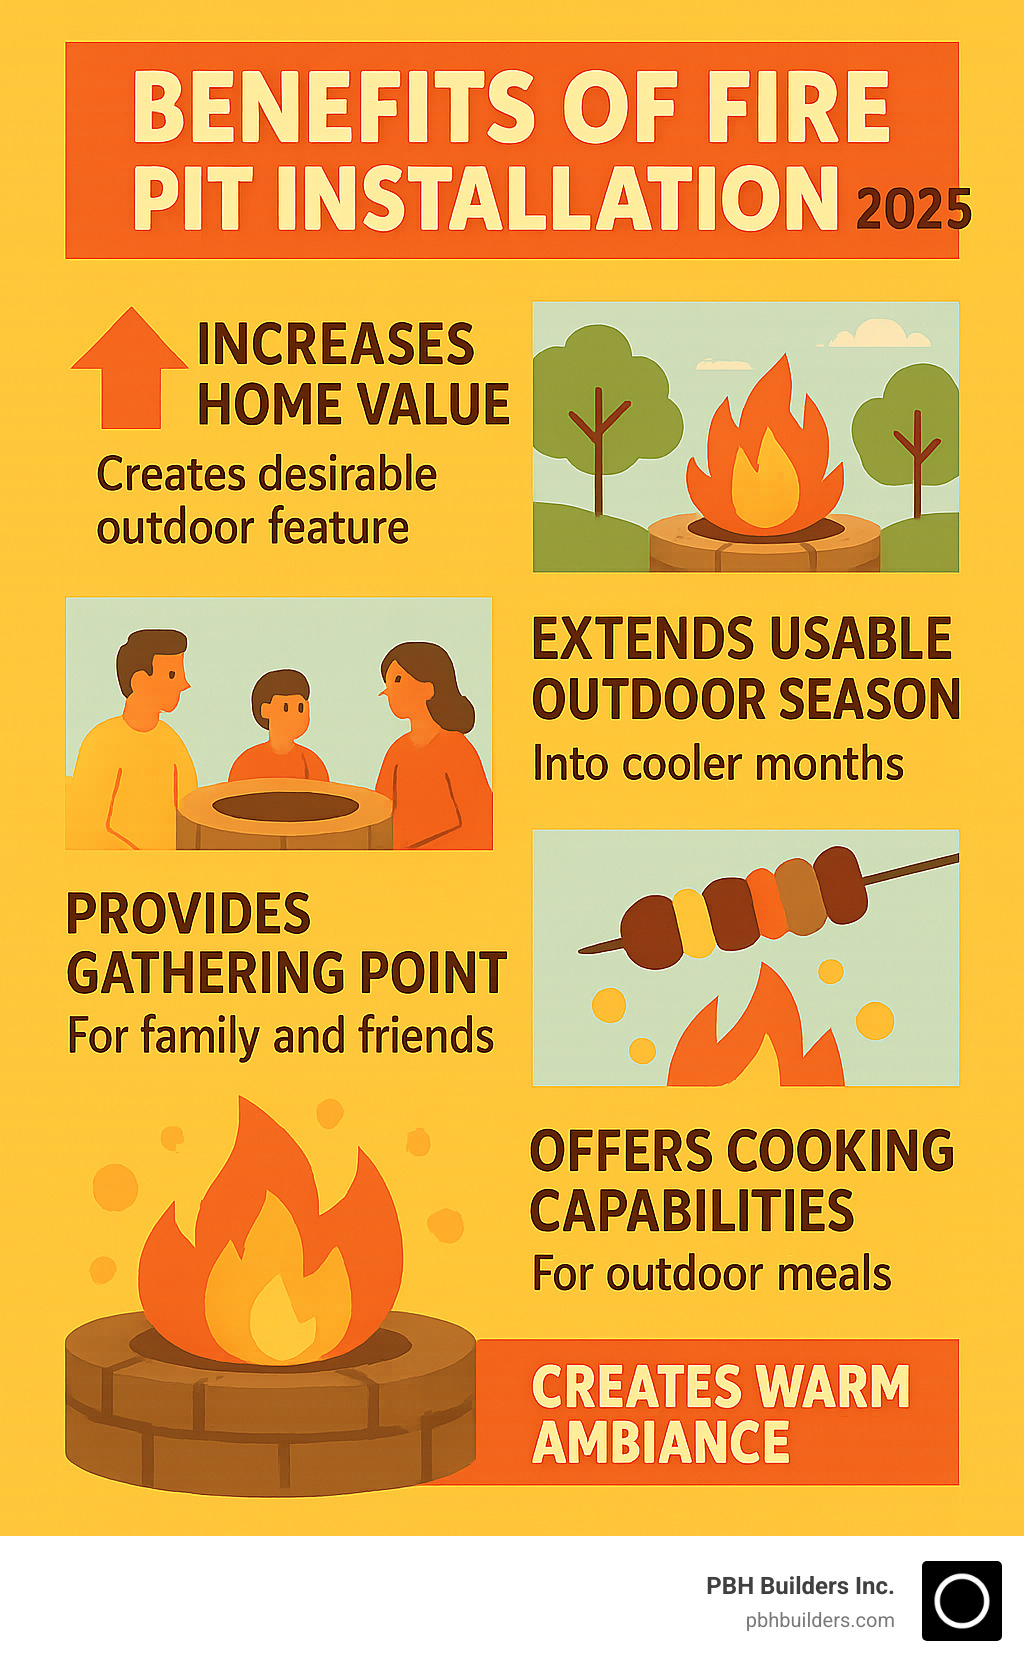
“A wood-burning fire pit makes a great outdoor gathering place for friends and family,” and the benefits extend far beyond cozy evenings. Fire pits can increase your property value, extend your outdoor season, and create that perfect focal point your backyard has been missing.
San Diego’s year-round mild climate makes fire pit installation especially rewarding. You’ll enjoy your investment during cool winter nights and breezy summer evenings alike.
Planning Your Perfect Fire Pit: Design, Location, and Safety
The excitement of planning your fire pit installation is like designing the perfect gathering spot for years of memories to come. But before you start digging or stacking stones, taking time to plan thoughtfully will save you headaches later and ensure your fire pit becomes a safe, beautiful centerpiece for your outdoor space.
The key decisions you’ll make now—what type of fire pit, which materials to use, and where to place it—will determine how much you’ll love your finished project. Let’s walk through each consideration so you can create something truly special.
Choosing the Right Type and Materials
Think of this decision as choosing the personality of your fire pit. Do you want the classic crackling sounds and smoky aroma of a wood-burning pit, or would you prefer the instant-on convenience of a gas fire pit?
Wood-burning pits give you that authentic campfire experience—perfect for roasting marshmallows with the kids or enjoying that primal connection to fire. You’ll love the robust heat and the mesmerizing dance of flames. The trade-off? You’ll need to keep dry wood on hand and clean out ash regularly.
Gas fire pits powered by natural gas or propane offer a completely different experience. Picture this: you flip a switch, and instantly you have adjustable flames with no smoke, no ash, and no fuss. They’re ideal if you want to enjoy a fire without the work, and some models can even be used under covered patios with proper ventilation.
| Feature | Wood-Burning Fire Pit | Gas Fire Pit (Natural Gas/Propane) |
|---|---|---|
| Cost | Lower initial material cost; ongoing wood expense | Higher initial installation (gas line, burner); lower fuel cost over time |
| Maintenance | Regular ash cleanup; wood storage | Minimal cleanup; occasional burner inspection |
| Ambiance | Authentic crackle, smoky aroma, robust heat | Clean flame, adjustable heat, no smoke or sparks |
| Convenience | Requires tending fire, gathering wood | Instant on/off, no tending, no mess |
Now let’s talk materials. The foundation of any great fire pit installation starts with choosing the right building blocks—literally.
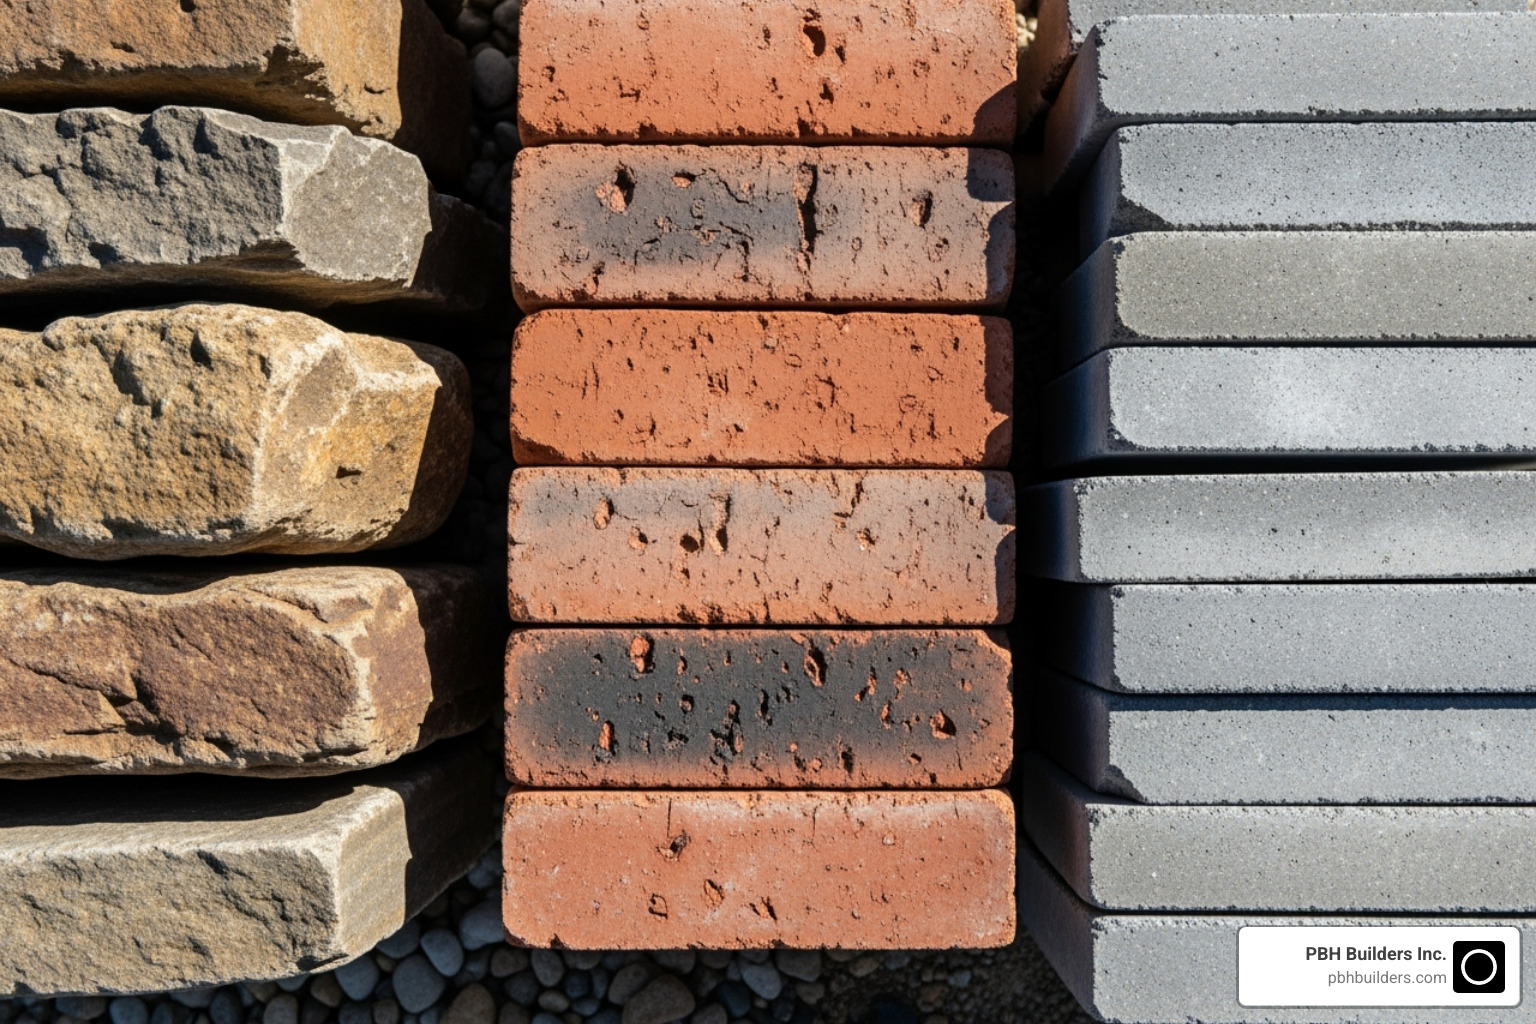
Retaining wall blocks and pavers are the DIY favorite for good reason. They’re affordable, easy to work with, and create clean lines that complement most outdoor spaces. For circular designs, look for trapezoidal blocks that curve naturally. Square blocks work beautifully for geometric designs.
Here’s something crucial: fire bricks aren’t just recommended for the interior—they’re essential if you’re building a wood-burning pit. Regular blocks can handle some heat, but fire bricks are specifically engineered to withstand intense, direct flames without cracking or deteriorating.
Don’t forget about metal inserts—these steel or cast-iron fire rings or bowls are like insurance for your project. They protect your carefully built walls from overheating and prevent the kind of material failure that can ruin a fire pit (or worse, create safety hazards).
For the finishing touches, lava rocks and fire glass aren’t just decorative. They help distribute heat evenly in gas pits and add that professional polish that makes your fire pit look like it belongs in a magazine.
How to Choose the Right Location
Finding the perfect spot for your fire pit is like real estate—it’s all about location, but with safety as your top priority.
Start with the safe distance rule: your fire pit needs to be at least 10 feet from any structure, but 20 feet is even better. This includes your house, garage, fences, and trees. Imagine drawing a 20-foot circle around your planned fire pit—everything within that circle should be fire-safe.
Wind direction might not seem important until you’re sitting in a cloud of smoke during your first fire. Take note of how wind typically moves through your yard, and position your fire pit so smoke naturally blows away from your house and outdoor seating areas.
Look up before you build. Overhead clearance means no low-hanging branches, power lines, or structures above your fire pit. Even small branches can become fire hazards, and you’ll want plenty of space for sparks to safely dissipate.
Before you dig even one shovel full of dirt, call 811. This free service will mark underground utilities like gas lines, electrical cables, and water pipes. Trust us—hitting a gas line isn’t just dangerous, it’s expensive to repair.
The surface you choose matters more than you might think. Never place a fire pit directly on grass (fire hazard) or wooden decking (heat damage). Concrete, stone, brick, or gravel provide the fire-resistant foundation your pit needs. If you’re building on an existing paver patio, you’ll need to take special care to protect the joints from heat damage.
For ideas on integrating your fire pit into a complete outdoor design, check out our work creating beautiful Outdoor Living Spaces.
Key Safety Considerations for Fire Pit Installation
Safety isn’t just about following rules—it’s about protecting your family, your property, and your investment in creating this wonderful outdoor space.
Local building codes aren’t suggestions; they’re requirements that vary by location. Before you buy your first block, check with your city about regulations for fire pit size, placement, and fuel types. San Diego residents should review the city’s specific requirements: Check San Diego’s recreational fire codes. Your HOA may have additional restrictions too.
We’ve mentioned fire pit liners already, but they’re so important they’re worth emphasizing again. A proper stainless steel liner prevents your exterior walls from overheating, which can cause cracking or even dangerous failures. This is one area where cutting corners can literally blow up on you.
Airflow vents might seem like a small detail, but they’re essential for a good fire. Plan for two-inch holes spaced every 24 to 36 inches around the base of your fire pit. These allow oxygen to feed the fire and prevent dangerous smoke buildup. Just remember to keep them clear of ash and debris.
Always have fire safety equipment nearby when your fire pit is in use. A fire extinguisher, bucket of sand, or garden hose should be within easy reach. It’s like wearing a seatbelt—you hope you never need it, but you’ll be grateful it’s there.
Finally, contact your homeowner’s insurance before you build. Adding a fire pit might affect your coverage, and it’s better to understand any policy changes upfront rather than find them after a claim.
Certain materials like river rocks or pea gravel can actually explode when heated because they retain moisture. Stick to materials specifically designed for fire pit use, and only burn dry, natural wood—never trash, treated lumber, or anything that produces toxic fumes.
Step-by-Step Guide to Your DIY Fire Pit Installation
Ready to roll up your sleeves? This is where the magic happens! After all that careful planning, it’s time to transform your backyard dream into reality. Don’t worry if you’ve never tackled a project like this before – fire pit installation is surprisingly manageable when you break it down into simple steps.
The key to success lies in taking your time with each phase. Rush the foundation, and you’ll regret it later. But get these basics right, and you’ll have a fire pit that looks professionally built and lasts for decades.
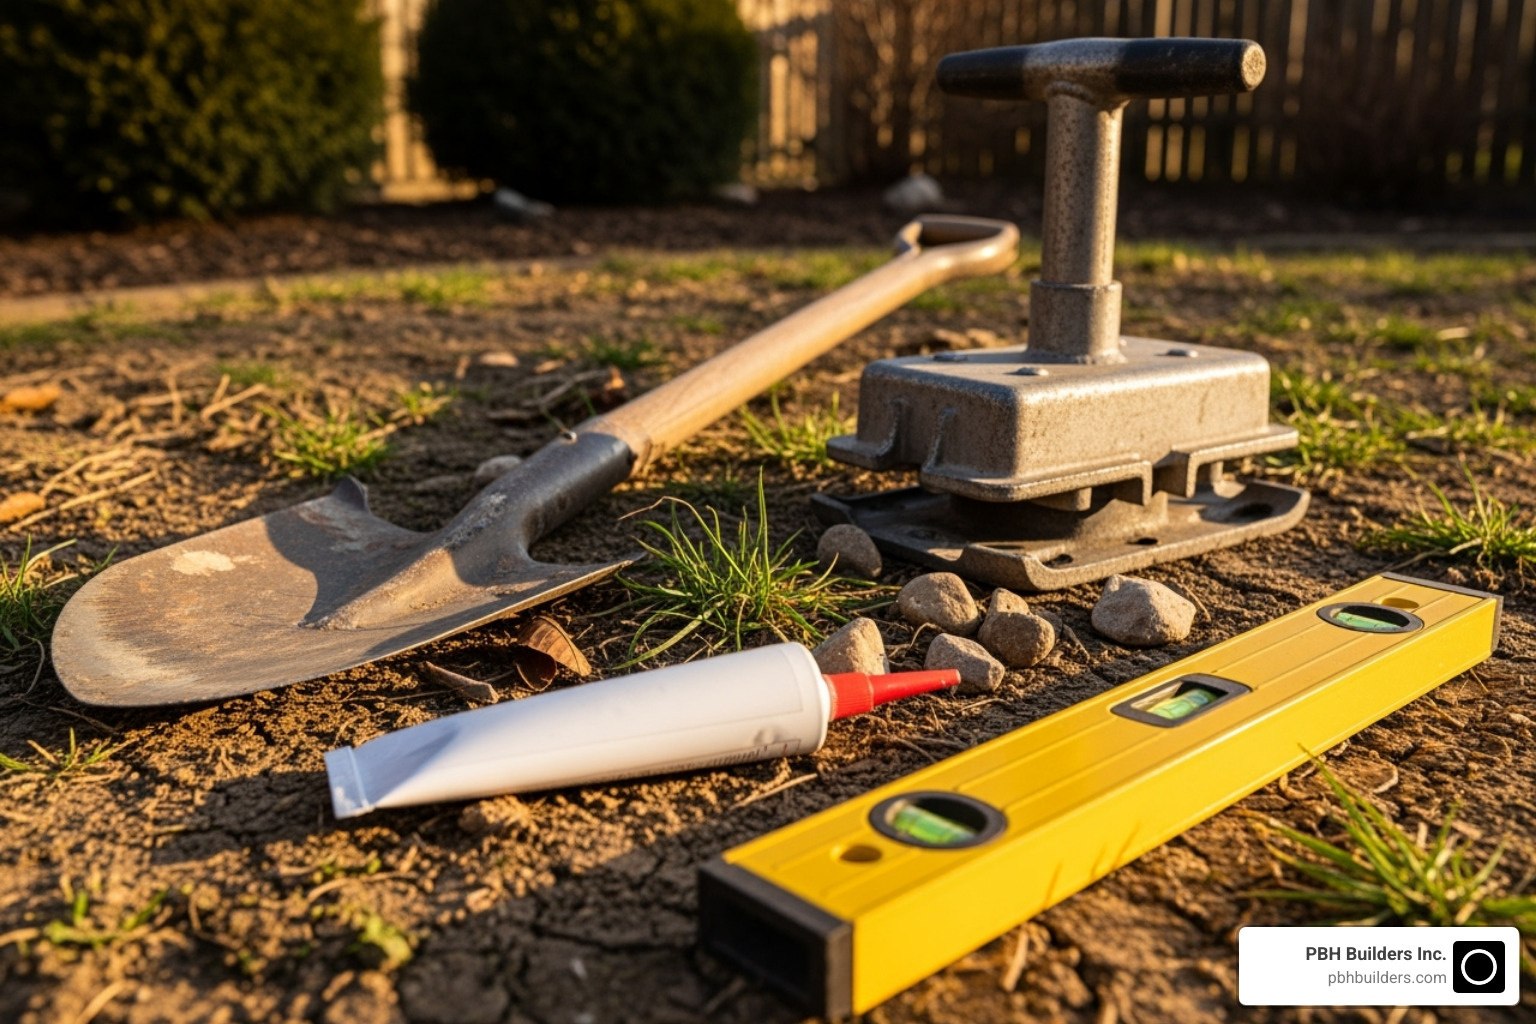
Preparing the Foundation
Think of your foundation as the unsung hero of your fire pit project. Nobody will see it once you’re done, but it’s what keeps everything stable and level for years to come.
Marking the perimeter is your first step, and accuracy here saves headaches later. For a circular pit, here’s a simple trick: drive a stake into the center of your chosen spot, tie a string to it, and attach marking paint to the other end. Walk in a circle while spraying – you’ll get a perfect outline every time. Planning a square or rectangular design? Just lay out your first course of blocks directly on the ground to mark your shape.
Now comes the workout portion of our program! Excavating the area means digging down about 7 inches below ground level within your marked perimeter. Your back might complain, but this step is crucial. Take your time to keep the bottom as level as possible – it makes everything easier from here on out.
Adding the gravel base is where things start looking official. Pour about 5 inches of crushed gravel into your excavated hole. This isn’t just busy work – the gravel provides drainage so water doesn’t pool under your fire pit, and it creates a stable, non-combustible foundation that won’t shift over time.
Here’s where most DIYers either love it or hate it: tamping the base. Thoroughly wet that gravel with your garden hose, then grab a hand tamper and start compacting. You want to create a rock-solid layer that sits about 2 inches below the surrounding ground level. Yes, it’s physical work, but think of it as free gym membership with better results than a treadmill!
Many experienced builders swear by adding a thin layer of sand (about half an inch) on top of the compacted gravel. This leveling sand gives you that perfect, fine-tuned surface for placing your first blocks. Give this layer a light tamping too – you want everything solid before you start building upward.
Building the Walls
With your foundation rock-solid, building the walls becomes surprisingly satisfying. There’s something deeply rewarding about watching your fire pit take shape, block by block.
Laying the first course of blocks is your moment of truth. Place each block carefully on your prepared base, pushing them tightly together with no gaps. A rubber mallet becomes your best friend here – use gentle taps to nudge blocks into perfect position. This isn’t the time to rush.
The checking for level step separates the pros from the amateurs. Your entire fire pit’s success depends on getting this first course perfectly level. Check individual blocks, check across the entire structure, and check diagonally. If something’s off, adjust it now with sand or careful tapping. Trust me, fixing it later means starting over.
Staggering joints on subsequent layers might sound complicated, but it’s actually intuitive once you start. Each new block should sit on top of two blocks from the layer below, bridging their seam. Picture how bricks look in any well-built wall – that overlapping pattern is what gives your fire pit its strength.
Applying construction adhesive between layers transforms your stack of blocks into a permanent structure. Run a bead of high-quality concrete adhesive along the top of each block before placing the next layer. This step requires patience – the adhesive needs anywhere from two to seven days to cure completely before you can safely use your fire pit.
The exciting finale involves inserting the steel ring or bowl. After your second or third course (depending on your design), test-fit your metal insert. The lip should rest securely on the block edges. If you’re using fire bricks for the interior, now’s the time to install them along the inner walls, securing them with fire clay mortar or lava rocks.
Feeling inspired to create an entire outdoor oasis? Consider adding seating that complements your new centerpiece – see how to build a curved bench to match your pit for the perfect finishing touch.
Beyond the Build: Enhancing and Maintaining Your Fire Pit Area
Your fire pit installation is complete – congratulations! But the real magic happens when you transform that functional fire pit into the heart of an enchanting outdoor sanctuary. Let’s explore how to create a space that not only looks amazing but also adds genuine value to your home while keeping everything in perfect condition for years to come.

Enhancing Your Backyard’s Aesthetic and Value
Your new fire pit is like a beautiful painting that deserves the perfect frame. The right improvements can transform your backyard from ordinary to extraordinary while boosting your property value.
Creating a cohesive patio area is your first step toward that magazine-worthy outdoor space. Think of your fire pit as the star of the show – it needs a proper stage. A well-designed patio using concrete, pavers, or natural stone creates definition and makes your fire pit area feel like a true outdoor room. This isn’t just about looks; it’s about creating a space that feels intentional and inviting.
Our team at PBH Builders specializes in Pergola & Patio Construction that seamlessly integrates with your fire pit, creating a stunning outdoor extension of your home that flows naturally.
Seating is where comfort meets conversation. You have wonderful options here. Built-in benches using matching stone or wood create permanent, structured seating that defines your space beautifully. Adirondack chairs offer that classic, laid-back vibe perfect for lazy evenings by the fire. For those wanting to create a more luxurious feel, outdoor sectional sofas transform your fire pit area into a cozy outdoor living room where everyone wants to gather.
The secret to a truly stunning fire pit area lies in professional planning. Our expertise in Landscape Design helps integrate your fire pit into the broader landscape picture. We use plants, pathways, and design elements to create harmony between your fire pit and the rest of your outdoor space.
Adding outdoor lighting takes your fire pit area from good to absolutely magical. String lights overhead create a warm canopy of light, while solar pathway lights guide guests safely to your gathering spot. Subtle uplighting on surrounding plants adds depth and drama that makes your space feel like a professional resort.
How to Maintain a Fire Pit After Installation
Taking care of your fire pit isn’t complicated, but doing it right ensures you’ll enjoy countless cozy evenings for years to come.
Regular ash cleanup is your most frequent task with wood-burning pits. Once everything has cooled completely (and we mean completely – wait until the next morning to be safe), scoop out the ash. This simple step improves airflow for your next fire and prevents messy buildup that can affect performance.
Periodic inspections are like regular check-ups for your fire pit. Look for cracks in the blocks, loose stones, or any signs of wear. Catching small issues early prevents them from becoming expensive problems later.
Using a protective cover is honestly one of the best investments you can make. A quality weather-resistant cover shields your fire pit from rain, snow, and debris. Just remember – never cover a warm fire pit. Wait until everything is completely cool, ideally the next morning.
Winterizing your fire pit becomes important in areas with harsh weather. Remove any loose components, ensure good drainage, and use a heavy-duty cover. For gas fire pits, turn off the gas supply at the source before winter sets in.
Cleaning lava rocks or fire glass in gas fire pits keeps everything looking fresh and functioning properly. Remove dust and debris periodically to maintain their appearance and ensure even flame distribution. It’s a small task that makes a big difference in how your fire pit looks and performs.
Frequently Asked Questions about Fire Pits
We love talking about fire pits! Over the years, we’ve helped countless San Diego homeowners create their perfect outdoor gathering spaces, and we’ve noticed the same questions come up time and again. Here are the answers to help you feel confident about your fire pit installation journey.
How long does fire pit installation typically take?
The timeline for your fire pit installation really depends on your approach and the complexity of your vision. Let’s break this down so you know what to expect.
If you’re feeling handy and want to tackle a DIY project, you could have a simple fire pit ready for your first s’mores session in just 3 hours to a full day. Basic retaining wall block designs are surprisingly quick to build once you’ve got your foundation prepared. We’ve seen enthusiastic homeowners complete beautiful DIY projects for around $450 in a single weekend.
Professional installation typically takes 1-3 days, and there’s good reason for this timeframe. We take time to ensure every detail is perfect – from precise excavation to proper gas line connections (if you’re going with gas), and most importantly, making sure everything meets local safety codes.
Weather can definitely throw a wrench in the timeline. Rain delays concrete curing, and nobody wants to be tamping gravel in a downpour! The complexity of your design also matters. A simple circular pit goes up faster than an elaborate custom stone masterpiece with integrated seating.
What are the costs associated with professional fire pit installation?
Money talk – we get it, this is important information for planning your project! The cost range is pretty wide because fire pits can be anything from simple to spectacular.
DIY enthusiasts can create beautiful fire pits for $50-$500+. The lower end gets you basic retaining wall blocks, sand, and gravel for a functional pit. Spend a bit more, and you can incorporate premium materials like natural stone or a high-quality steel insert.
Professional installation involves both labor and materials costs. While it’s a bigger upfront investment, you’re paying for expertise, efficiency, and peace of mind. We handle everything from permits to safety compliance, plus you get a fire pit that’s built to last decades.
Several factors affect the final price. Size and materials make the biggest difference – a large natural stone fire pit costs more than a compact block version. Gas fire pits typically cost more to install because they require gas line work and specialized burners. Custom designs and challenging site conditions can also impact pricing.
The best approach? Get detailed quotes from reputable contractors. This helps you understand exactly what you’re getting and ensures there are no surprises down the road.
Can I put a fire pit on my existing paver patio?
Absolutely! Many of our clients want to add a fire pit to their existing paver patios, and it’s definitely doable with the right precautions.
The key is protecting your pavers from heat damage. Direct heat can discolor pavers or damage the polymeric sand in the joints. Nobody wants their beautiful patio turning into a heat-damaged mess!
For portable fire pits, a fire pit mat is your best friend. These heat-resistant barriers deflect heat away from your patio surface and are an easy, affordable solution.
Built-in fire pits require more planning. You’ll need to line the interior with fire-rated bricks to protect the surrounding pavers. The fire pit’s internal structure should be completely isolated so heat doesn’t transfer to your patio surface.
Even on an existing patio, ensuring a proper base is crucial. While you might not need to excavate as deeply, that first course of blocks still needs to be perfectly level and secure.
With proper planning and protective measures, your fire pit can be a seamless addition to your existing patio. See examples of our paver work to get inspired by how beautifully these features can integrate into your outdoor space.
Conclusion: A Professional Touch for a Lasting Legacy
Your journey through fire pit installation has taken you from that first spark of inspiration to understanding every detail needed for success. We’ve walked through the essential planning steps, rolled up our sleeves for the hands-on construction, and explored how proper maintenance keeps your investment glowing for years to come.
The rewards of a well-built fire pit extend far beyond those cozy evening gatherings. Your outdoor living season stretches longer, giving you more time to enjoy San Diego’s beautiful weather. Property values increase as your backyard transforms into an enviable entertainment space. Family time becomes more meaningful when everyone naturally gathers around the warm, inviting flames.
While tackling a DIY fire pit project brings genuine satisfaction and pride, there’s something to be said for professional expertise. When you work with experienced builders, you’re not just getting skilled hands – you’re getting peace of mind about safety regulations, confidence in long-term durability, and seamless integration with your existing landscape design.
The difference between a good fire pit and a great one often lies in those professional touches: perfectly level stonework that won’t shift over time, proper ventilation that prevents smoke problems, and design elements that make your fire pit feel like it was always meant to be part of your outdoor space.
For homeowners in San Diego who want that flawless installation without the guesswork, PBH Builders Inc. brings the creativity and meticulous attention to detail that transforms backyards into outdoor sanctuaries. Our team understands how to blend functionality with beauty, creating spaces that improve both your lifestyle and your home’s value.
View our portfolio of stunning outdoor projects to see how we’ve helped other families create their perfect outdoor retreats.
Ready to take your backyard to the next level? Imagine pairing your new fire pit with a complete outdoor kitchen for the ultimate entertaining space. Ready to create the ultimate backyard with an outdoor kitchen and fire pit?

