Why Artificial Turf Installation Is the Smart Choice for San Diego Homeowners
Artificial turf installation is a game-changing solution for homeowners who want a beautiful, green lawn without the endless maintenance, water bills, and brown patches that come with natural grass.
Quick Answer: Artificial Turf Installation Process
- Excavate 3-4 inches of existing soil and sod
- Install base with crushed aggregate and compact thoroughly
- Lay weed barrier to prevent future growth
- Roll out turf ensuring grain direction is consistent
- Seam pieces together with tape and adhesive
- Secure edges with landscape staples every 6 inches
- Apply infill (silica sand) and brush into fibers
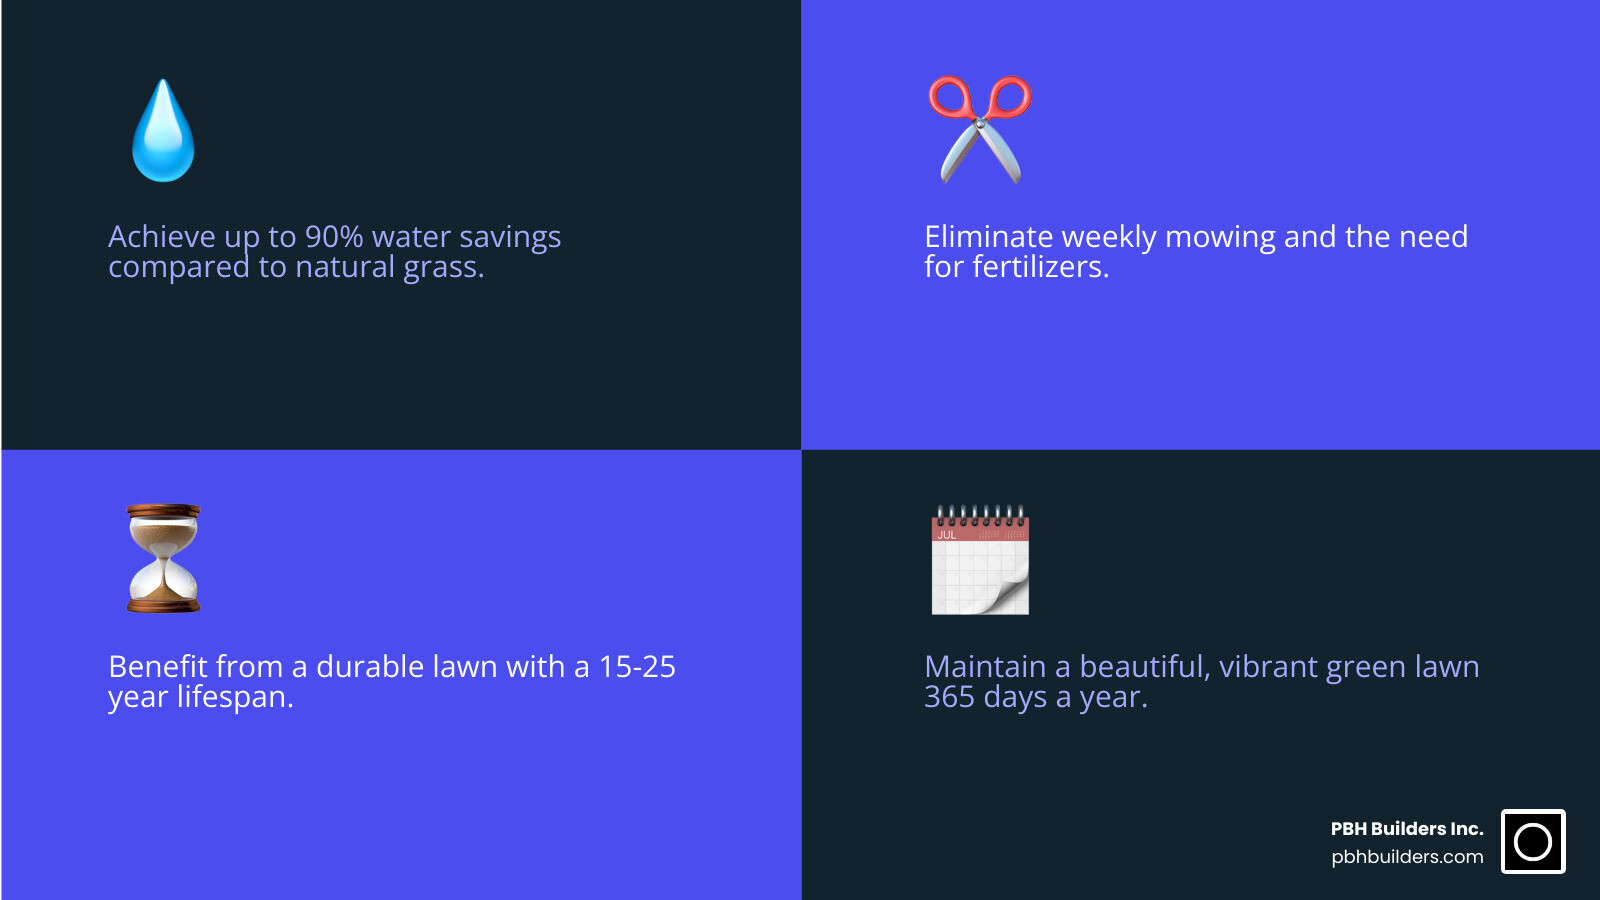
The benefits are clear and immediate. You’ll save thousands on water bills, never mow again, and have a perfect green lawn 365 days a year. Your kids and pets can play safely on a surface that drains up to 30 inches of water per hour.
But here’s the thing – proper installation makes all the difference. A poorly installed lawn will buckle, develop visible seams, and potentially need replacement within just a few years. Get it right from the start, and your investment will last 15-25 years with minimal maintenance.
Whether you tackle this as a DIY project or hire professionals, understanding the process helps you make informed decisions and spot quality work. For San Diego’s unique climate and soil conditions, the stakes are even higher – our intense sun and occasional heavy rains demand installation techniques that many generic guides simply don’t address.
Planning and Preparation: The Foundation for a Flawless Lawn
Proper planning and preparation are the foundation of a flawless artificial turf installation. Rushing this phase can lead to wrinkles, visible seams, and drainage issues. A methodical approach ensures a professional-looking lawn that lasts for decades.
Essential Tools and Materials
Having the right equipment is crucial for professional results.
For measuring and layout, you’ll need a tape measure and marking paint. Precise measurements are crucial to avoid costly mistakes.
The excavation phase requires a shovel, a wheelbarrow, and a rake. For compacting the base, it’s highly recommended to rent a plate compactor instead of using hand tools. This ensures a flat, stable surface and is much more efficient.
For cutting and handling the turf, use a sharp utility knife with extra blades to prevent ragged edges. Gloves and knee pads are essential for safety and comfort.
Seaming requires seam tape, turf adhesive, and a notched trowel for even glue application. Landscape staples and a hammer secure the turf in place.
Finally, for infill application, you’ll need a drop spreader for even coverage and a stiff-bristled broom or power broom to work the infill into the fibers.
Your materials list includes artificial turf, crushed aggregate base (avoid pea gravel), weed barrier fabric, and your chosen infill material (e.g., silica sand).
Ground Preparation for Artificial Turf Installation
This is the most critical step for preventing future problems.
Start by excavating the area to a depth of 3-4 inches, removing all existing sod, weeds, and roots. Any roots left behind can cause issues later.
Next, cap any sprinkler heads at the pipe level to prevent future leaks, which can create mysterious wet spots under your new lawn.
Then, perform a rough grading, creating a slight slope of 2-3% away from your house. This is essential for proper drainage, especially with San Diego’s occasional heavy rains.
Before moving on, treat any remaining weeds. For an environmentally conscious approach, consider tackling weeds with a water-based weed killer that’s gentler on the surrounding environment.
Creating a Stable Sub-Base
The sub-base is a critical, invisible foundation for long-term success.
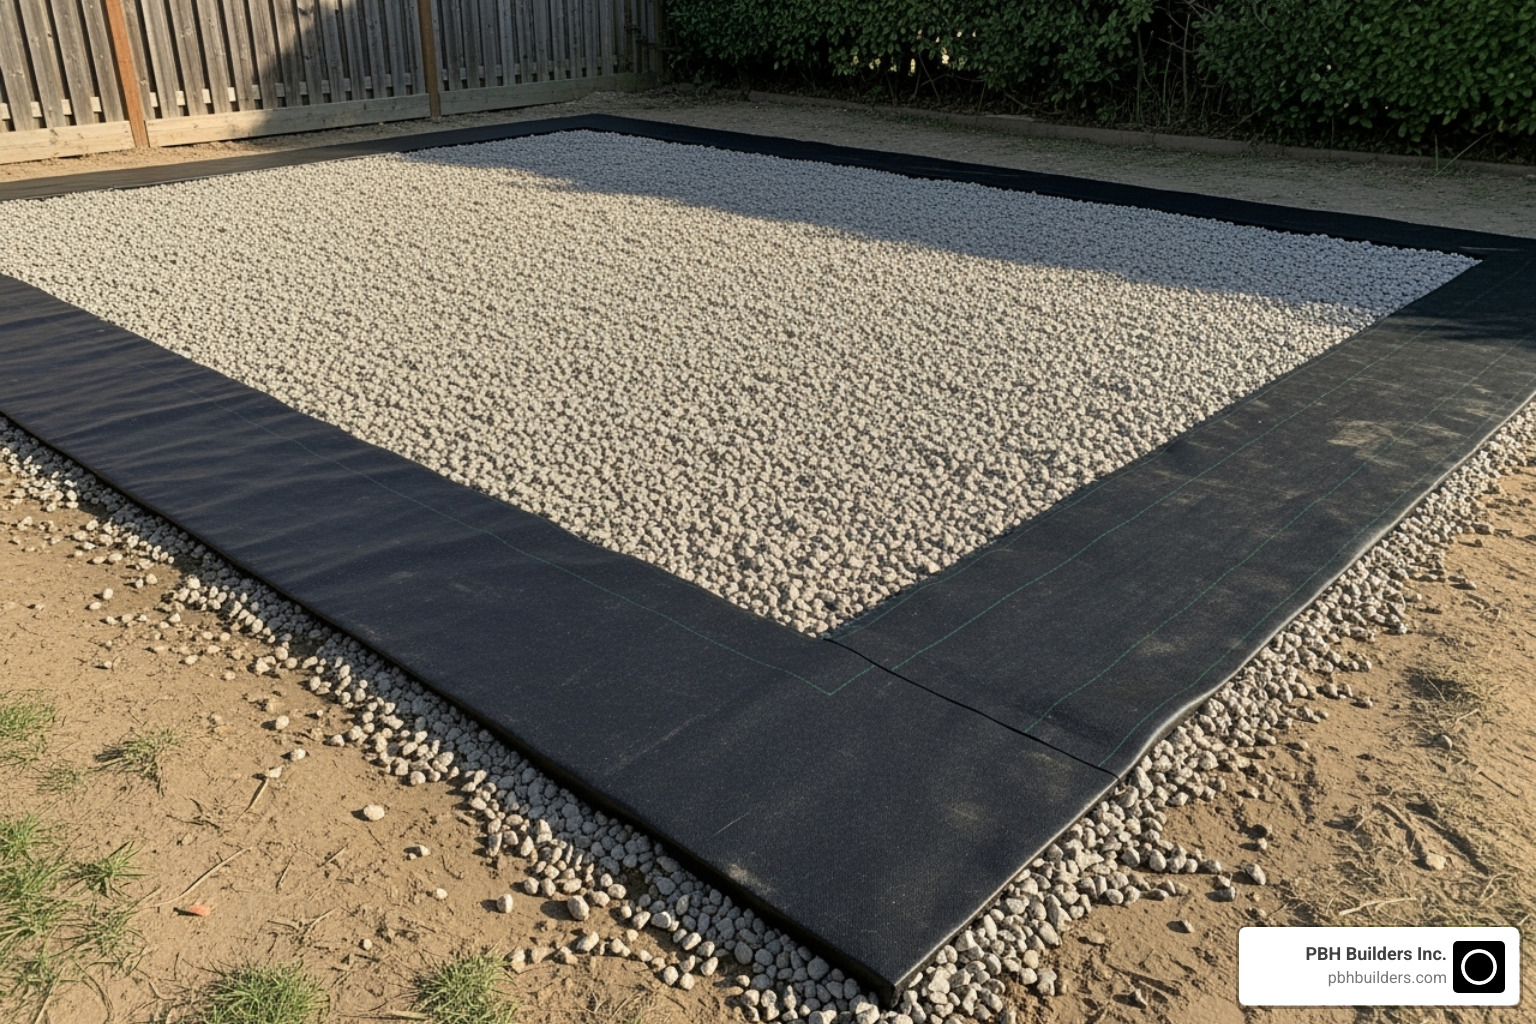
Choose a quality aggregate base material. Crushed rock or decomposed granite (3/4″ down to 1/4″ size) are ideal because they compact into a solid, stable surface. Avoid pea gravel, as its round stones don’t lock together.
Apply the base material in layers of 3-4 inches. A pro tip is to lightly mist each layer with water before compacting to help the particles bind together.
Compaction is where the plate compactor is essential. Make multiple passes until you achieve 80-90% compaction. A properly compacted base prevents settling and surface irregularities later.
Once your base is solid, roll out the weed barrier installation across the entire area, overlapping seams by a few inches and securing with landscape staples. This adds extra protection against weeds.
Finish with final grading to ensure a smooth and level surface while maintaining the crucial drainage slope. Any bumps or dips will be visible through the finished turf, so take your time to get this perfect.
The Step-by-Step Artificial Turf Installation Process
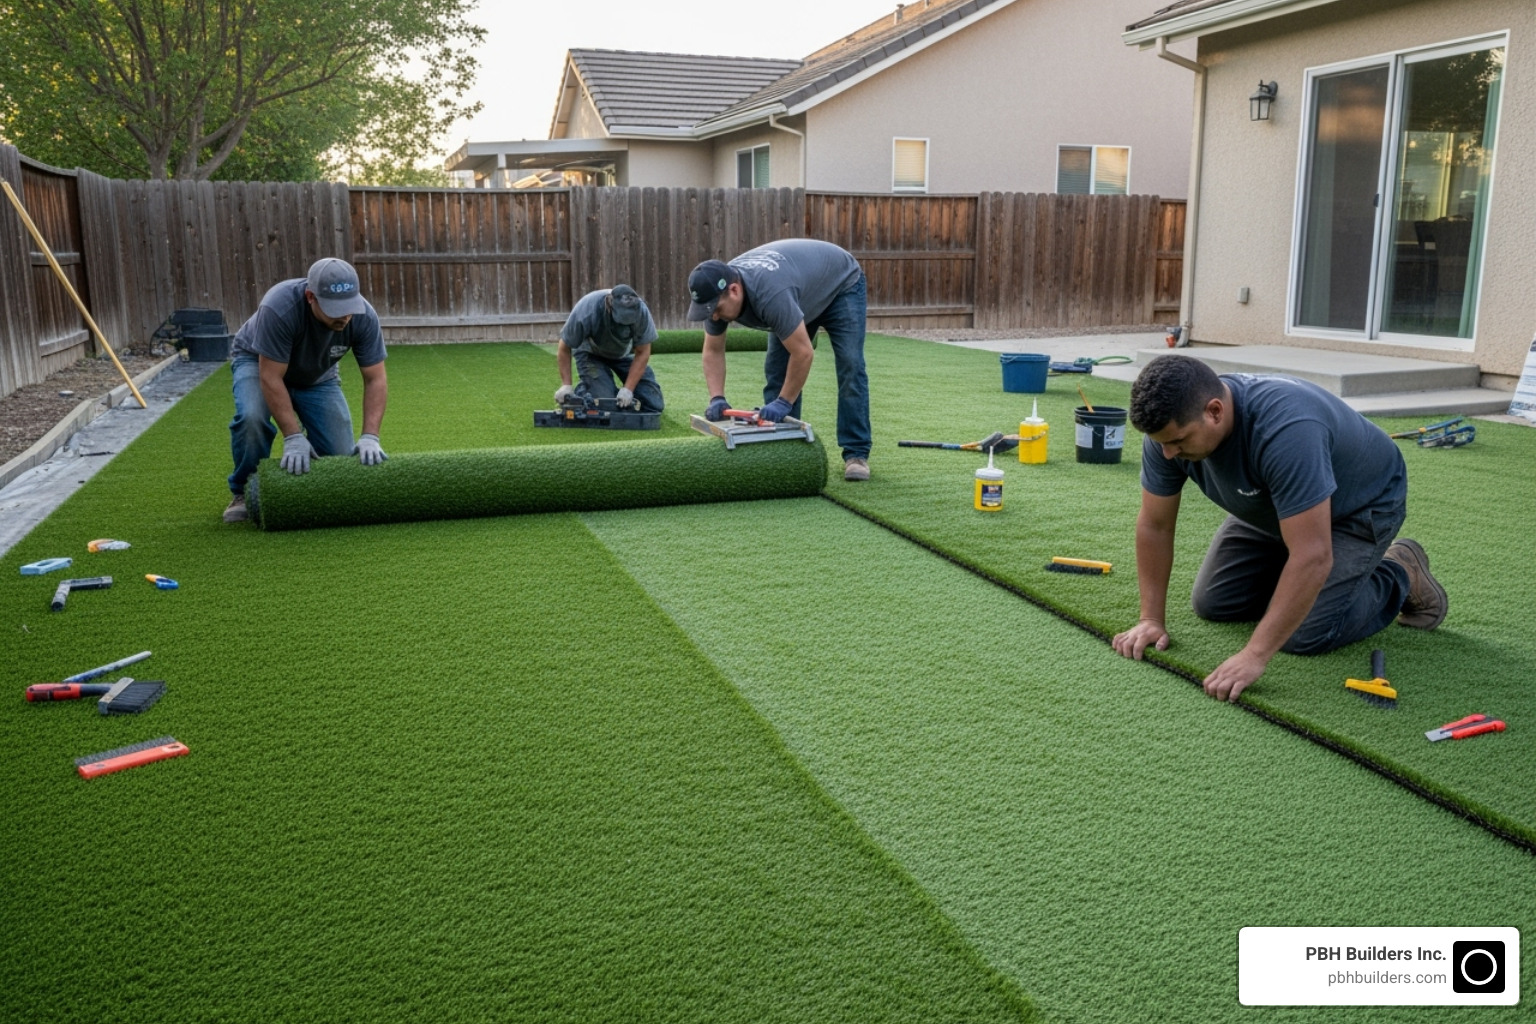
With the foundation prepared, it’s time to lay the turf. This stage requires precision and patience to achieve a flawless, natural-looking result. The following techniques are key to a professional-quality installation that lasts.
Laying, Cutting, and Positioning the Turf
Before you begin, there are critical steps to ensure your lawn looks amazing, not artificial.
Acclimate your turf by letting the rolls sit in the San Diego sun for at least a few hours. The heat makes the material more flexible and helps eliminate wrinkles.
Grain direction is absolutely critical. Like carpet pile, artificial turf fibers lean in one direction. Every piece must face the same way to avoid a patchwork look. We recommend having the grass blades lean toward your house for the most appealing view.
When positioning the turf, never drag it across your prepared base. Lift and place each piece carefully. If using multiple rolls, align them perfectly.
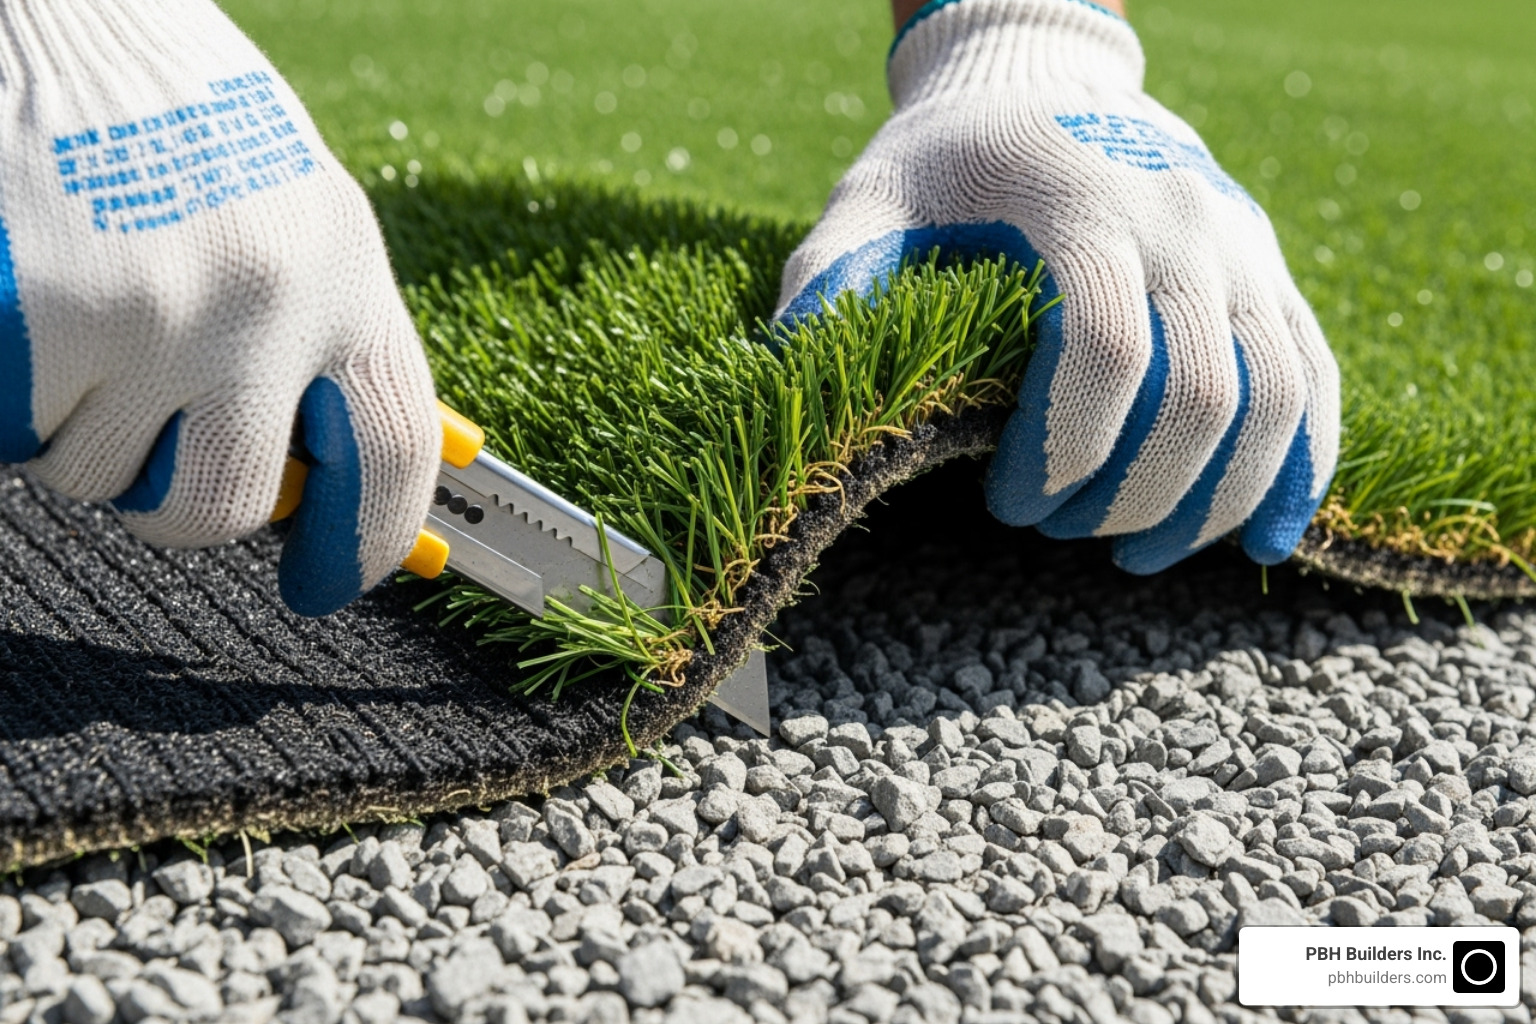
Make small, precise relief cuts from the back of the turf to fit it around obstacles like trees or sprinkler boxes. Leave about six inches of clearance around the base of trees and large plants.
For trimming, always cut from the backside of the turf with a sharp utility knife. Follow the stitch lines for straight cuts and leave a little extra along borders, which can be tucked for a plush, finished look.
How to Properly Seam and Secure Your Turf
Creating invisible seams is a vital skill when joining multiple turf pieces. Poor seaming will leave permanent, obvious lines in your lawn.
Start by preparing clean edges. Trim away the manufacturing edge (the outermost stitch line) on both pieces of turf to prevent visible gaps.
Perfect alignment is non-negotiable. The grain direction must match, and the edges should meet perfectly without overlapping or leaving gaps. Some pros use an ‘S’ cut for a more natural, less linear seam.
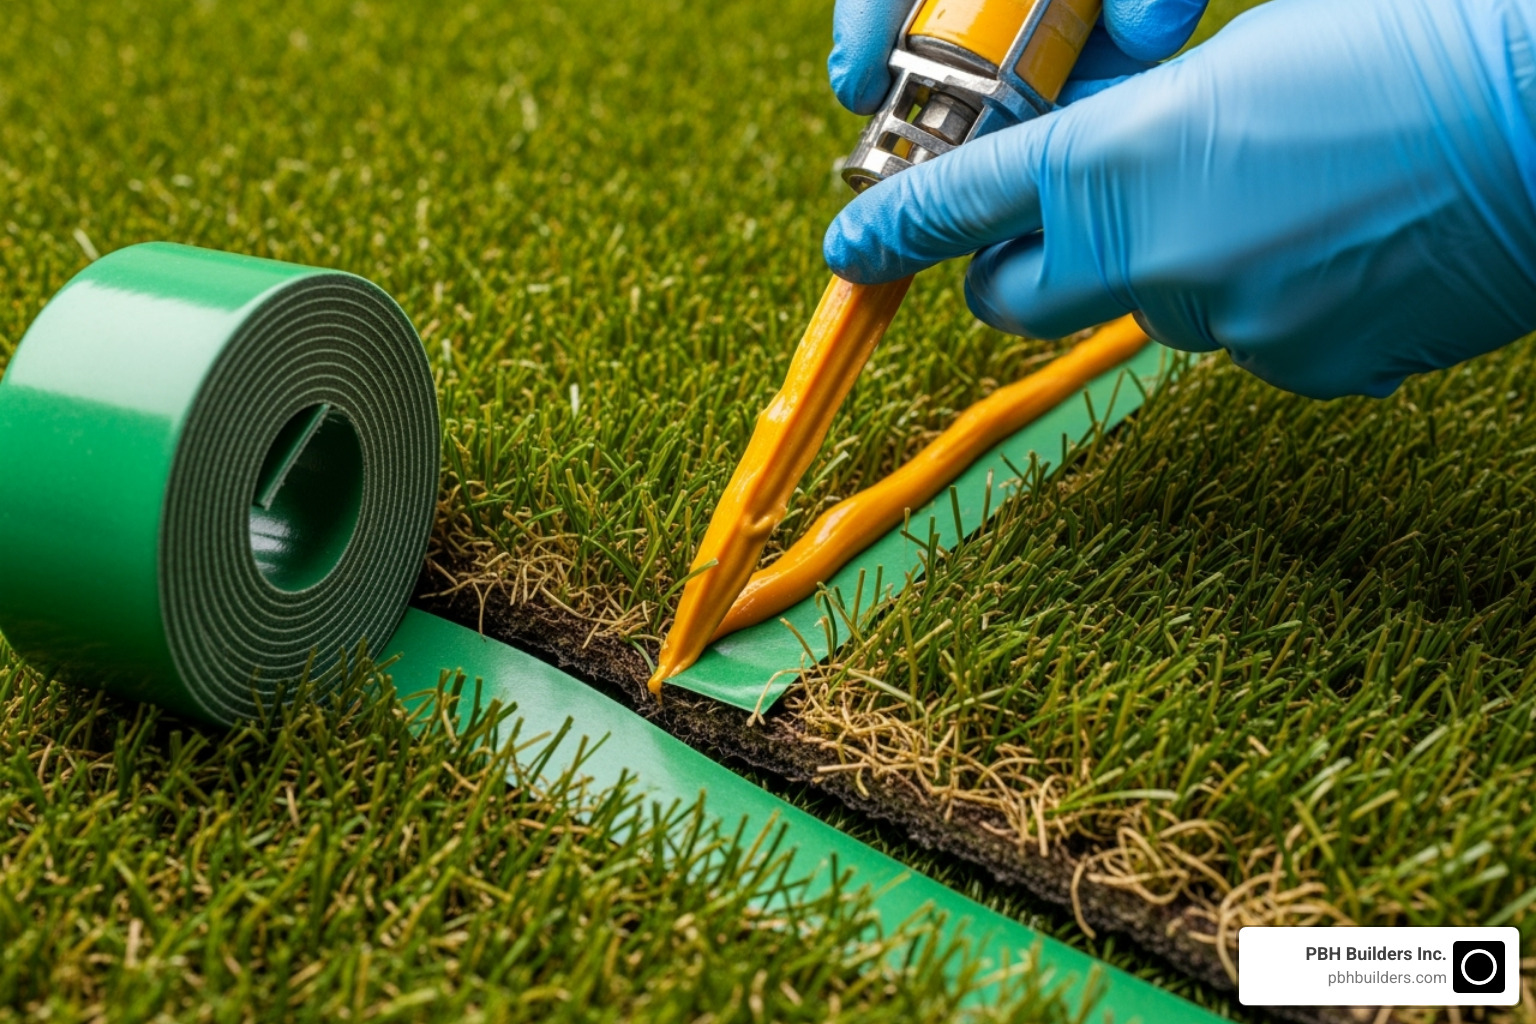
For the seaming process, fold back both edges and lay your seam tape under the joint, securing it with a few landscape staples. Apply adhesive generously and evenly with a notched trowel. A weak bond will fail over time.
Close the seam patiently, working from one end to the other and pressing the edges firmly into the adhesive. Be careful not to trap grass fibers in the glue. A carpet stretcher can help remove any wrinkles before the adhesive sets.
Secure the perimeter by spacing landscape staples or six-inch nails about six inches apart around the entire edge. Drive them flush with the backing. Use U-nails along seams for extra security.
Finally, tucking the edges with a pry bar provides a professional finish.
Applying Infill: The Finishing Touch for Your Artificial Turf Installation
Infill is a crucial finishing touch that makes turf look natural, adds weight, supports the grass blades, and provides cushioning. It prevents shifting and helps the blades stand upright.
Choosing the right infill material depends on your needs. Silica sand is a popular, cost-effective choice. Crumb rubber offers superior cushioning for play areas. For pet owners, Zeolite infill is an excellent investment, as it absorbs and neutralizes pet urine odors.
The application process requires the right technique. Use a drop spreader for even distribution. Work in layers rather than dumping it all at once to ensure even coverage. The typical amount is one to two pounds per square foot, but always check the manufacturer’s recommendations.
Brushing the infill into the fibers is just as important. Use a stiff-bristled broom and work against the grain to help the blades stand tall. This step requires some effort but is essential for a stunning result.
A light watering after the final application helps the infill settle, and a final pass with a power brush creates a perfectly groomed appearance.
Special Considerations and Post-Installation Care
Certain situations, like installing over concrete or creating dedicated play areas, require special considerations for a successful artificial turf installation.
Installing Turf on Different Surfaces
The surface beneath your turf dictates the installation method.
Soil installations are the standard, involving excavation, a crushed aggregate base, a weed barrier, and securing with landscape staples for natural drainage.
Concrete installations present a drainage challenge. Since water cannot pass through, you must leave small gaps (about 6 inches apart) at the perimeter for water to escape. In some cases, drainage holes may need to be drilled into the concrete. Instead of nails, you’ll use heavy-duty outdoor adhesive to glue the turf backing directly to the clean concrete. Shock pads are a smart addition here to provide cushioning.
Sand installations are possible if the sand is compacted to be rock-solid. Once compacted, you can use landscape staples as you would with soil, followed by the silica sand infill.
Turf for Pets and Children’s Play Areas
Artificial turf is an excellent solution for pets and children, eliminating mud and brown patches.
Pet areas benefit from Zeolite infill, which absorbs pet urine and breaks down ammonia to control odors. A highly permeable crushed rock base is essential for fast drainage. Plan to rinse pet areas weekly with a hose to keep them fresh.
For children’s play areas, safety is paramount. Shock-absorbing pads installed beneath the turf create a softer landing for falls, reducing injury risk and providing peace of mind for parents creating amazing outdoor living spaces.
For both pet and play areas, consider securing the turf more thoroughly with landscape staples every 4-6 inches to withstand high activity.
Long-Term Maintenance for a Lasting Lawn
Artificial turf maintenance is simple and requires minimal effort to keep your lawn looking its best.
Regular brushing is the most important task. Use a stiff-bristled broom to brush against the grain, lifting any fibers flattened by foot traffic. High-traffic areas may need monthly brushing.
A simple hose-down periodically will wash away dust and pollen. For pet areas, a weekly rinse is recommended to maintain hygiene and prevent odors.
Remove debris like leaves and twigs with a leaf blower or plastic rake to prevent organic matter from decomposing on the turf.
Spills are easy to clean. Soak up liquids, then use mild dish soap and warm water for stubborn spots, followed by a thorough rinse. Avoid harsh chemicals.
An occasional weed may appear at the edges, but they are easy to pull or treat with a water-based herbicide.
Be aware that reflective windows can sometimes magnify sunlight and melt turf fibers. If this occurs, a protective window film can solve the problem.
This simple routine will keep your lawn beautiful for its entire 15-25 year lifespan. For more ideas, check out our guide to low maintenance landscaping options.
DIY vs. Hiring a Professional: Making the Right Choice
Deciding between a DIY artificial turf installation and hiring a professional depends on several factors. While there’s no single right answer, clear guidelines can help you choose the best path for your project.
When to DIY vs. When to Hire a Pro
A DIY approach can offer significant cost savings and a sense of accomplishment. However, artificial turf installation is a project where small mistakes can lead to major issues that are difficult and costly to fix, often requiring a complete restart.
| Feature | DIY Installation | Professional Installation |
|---|---|---|
| Cost | Lower upfront cost (saves on labor), but potential for re-work costs if mistakes are made. | Higher upfront cost, but includes labor, specialized tools, and expertise. Often more cost-effective in the long run due to durability and warranty. |
| Time | Can be very time-consuming, especially for larger or complex projects. Requires significant physical effort. | Faster completion time due to experienced crews and specialized equipment. |
| Tools | Requires purchasing or renting specialized tools (plate compactor, power broom, etc.). | Professionals arrive with all necessary specialized tools and equipment. |
| Final Quality | Varies greatly depending on skill and experience. Higher risk of visible seams, improper drainage, buckling, or uneven surfaces. | Consistent, high-quality finish. Expertise ensures proper base preparation, invisible seams, optimal drainage, and correct infill application, leading to a professional, durable result. |
| Warranty/Support | Typically no labor warranty. Manufacturer’s turf warranty still applies, but installation errors are your responsibility. | Often includes a labor warranty in addition to the manufacturer’s turf warranty, providing peace of mind. Access to ongoing support and maintenance advice. |
Project size is a key factor. Small, simple areas under 100 square feet can be good DIY projects. However, as the area grows, especially with complex shapes, curves, or slopes, the difficulty increases significantly. Many homeowners find themselves calling professionals mid-project when faced with visible seams or drainage problems.
Your skill level and available time are also critical. If you have experience with landscaping, are comfortable with specialized tools like a plate compactor, and can dedicate several weekends to the project, DIY may be feasible. Rushing any step, especially base preparation, often leads to long-term issues.
For homeowners seeking a perfect, worry-free finish, our professional landscaping services ensure every detail is handled with precision.
Impact on Lifespan and Cost
A properly installed artificial lawn should last 15 to 25 years. However, improper installation can cut that lifespan in half or worse, with common issues like separating seams, buckling, and poor drainage appearing within a few years.
The most common DIY mistakes that shorten turf life are inadequate base compaction, poor seam management, and incorrect infill application.
When you factor in the long-term savings from eliminating watering, fertilizing, and mowing, artificial turf is a sound investment—but only if installed correctly from the start.
A quality installation also boosts your property’s curb appeal and market value. When considering this investment, it’s worth understanding the astro turf price per square foot and how it contributes to these long-term benefits.
The bottom line is that investing in a quality installation, whether DIY or professional, is essential to enjoying the full benefits of artificial turf for decades.
Conclusion
Your artificial turf installation journey is complete, and what a journey it’s been! From that first excavated shovelful of dirt to the final brushing of infill into those perfect green blades, you’ve created something truly special – a beautiful, low-maintenance lawn that will serve your family for decades to come.
Think about what you’ve accomplished here. You’ve mastered the art of proper ground preparation, understanding why that compacted base matters so much. You’ve learned the secrets of invisible seaming and finded how the right infill can make all the difference between an okay lawn and an absolutely stunning one.
Whether you tackled this as a weekend warrior DIY project or decided to bring in the pros, you now understand what goes into a quality installation. You know why some artificial lawns last 25 years while others start showing problems after just a few seasons – it all comes down to doing things right from the very beginning.
Your new lawn is going to change how you live outdoors. No more weekend mowing sessions when you’d rather be at the beach. No more brown patches during San Diego’s dry spells. No more muddy paws tracking through the house after it rains. Just beautiful, consistent green that looks amazing year-round.
The maintenance routine we’ve outlined will keep your investment looking its best. A quick brush here, an occasional rinse there, and your lawn will reward you with that fresh, perfectly manicured look that makes your neighbors wonder what your secret is.
For homeowners in San Diego who want that flawless, professional finish that truly improves your property’s value and your family’s lifestyle, the expert team at PBH Builders Inc. brings years of experience to every project. We understand San Diego’s unique climate challenges and know exactly how to create outdoor spaces that thrive in our beautiful coastal environment.
Ready to transform your yard into the lawn of your dreams? Get a quote for your artificial turf installation in San Diego and let’s create something amazing together!
